
Video-Tutorial
Change the closet materials
Next, we’re going to see how to modify the materials of the closet, the walls, and the floor.
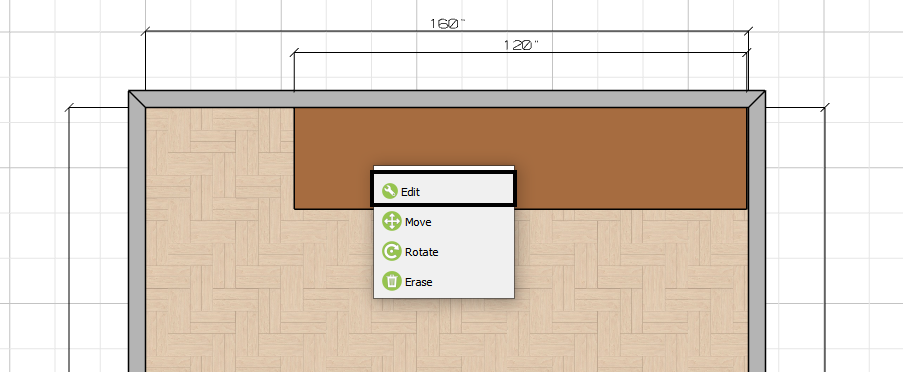
To change the materials of the wardrobe, once placed in the design, right-click on it, and select the option “Edit” :
Catalogs stage
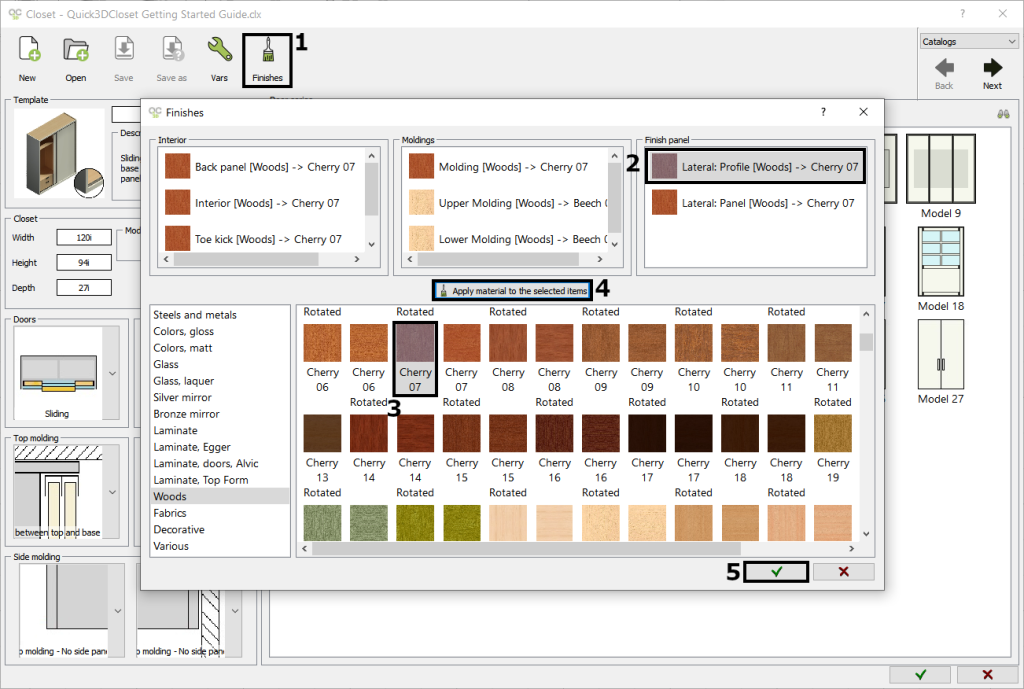
The closet window opens, where you can change the material of any part of it. First, let’s change the material of the “Finish panel -> Lateral: Profile” :
- In the “Catalogs” stage, click on the “Finishes” button.
- Select “Lateral: Profile” .
- Select the material “Cherry 07” .
- Click on “Apply material to the selected items“.
- Accept this window.
Distribution stage
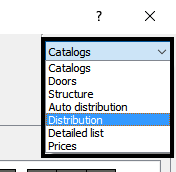
You can access any stage of the wardrobe design by directly clicking on the dropdown menu at the top right of the window. Select “Distribution” :
In this stage, we are going to modify the material of the 3 open glass drawers:
- Select one drawer with the mouse.
- Click on the “Finishes” button.
- Select a new material for each element: Drawer Front, Glass, Drawer.
- Check the option “Apply to all the items in this module with the same reference code” and click “OK” .
- In the new window that appears, click “OK” .

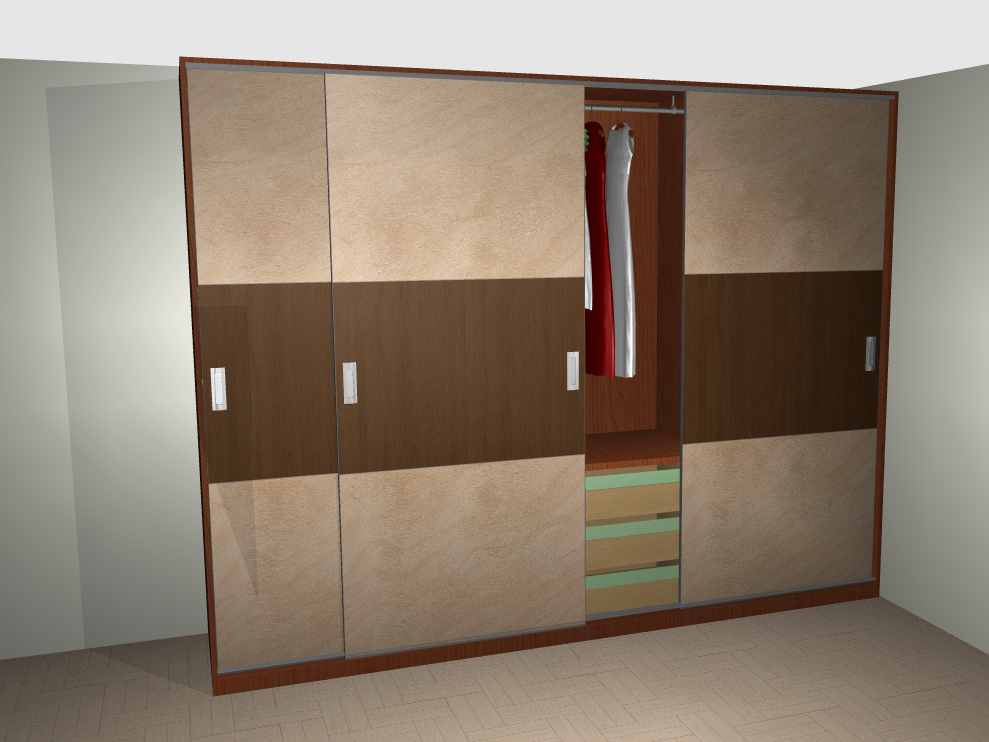
Here you can see how the wardrobe looks after changing the materials:
Change the wall material
Finally, let’s change the material of the walls and the floor. The process is the same, just select the corresponding option:
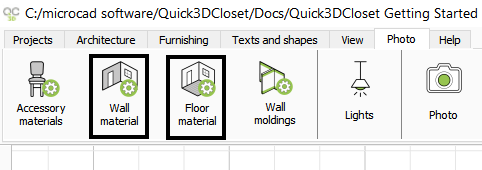
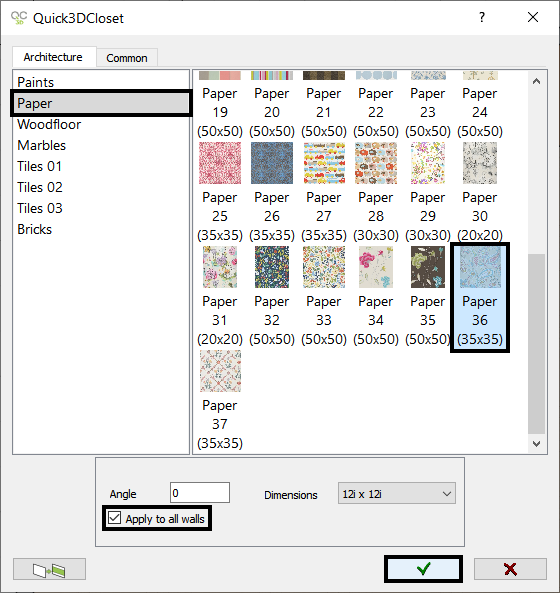
Select the “Wall Material” option, and the following window will appear, where we choose the new material for the walls, as well as the angle and measurements if selecting a “tile” type material. You can also check the “Apply to all walls” option to change all the walls, or uncheck that option to apply the material to a specific wall. In our example, we will apply this material to all walls:
How to create a wall design with 2 materials in Quick3DCloset
You can watch a more advanced video on how to create a wall with 2 materials in Quick3DCloset here:
NOTE: Vídeo in Spanish made with Quick3DPlan, but the tools are the same in Quick3DCloset.
Change the floor material
Now, we select “Floor Material“, and repeat the process, selecting this material, applying a 45º angle to make the parquet look nicer:
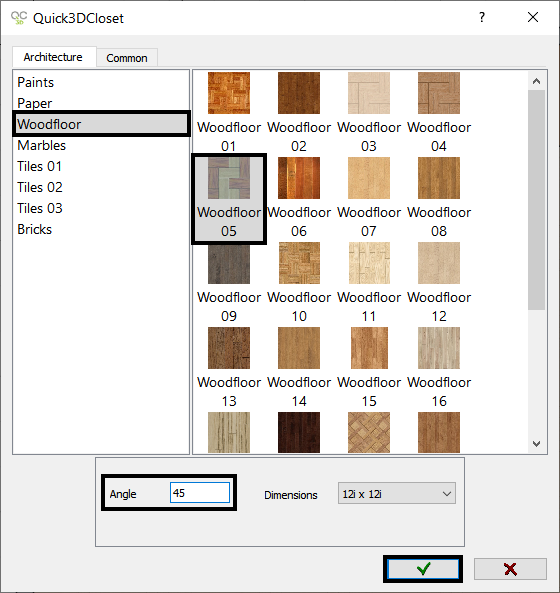
This is how the room should look with the new materials we just applied:

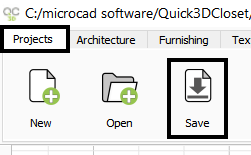
Save project
Now, let’s see how to create views and perspectives of our designs.
Click on the “Next” button to continue with the course.