Video-Tutorial
Change the units materials
The following, we are going to see how to modify the materials of the furniture, the walls, and the floor.
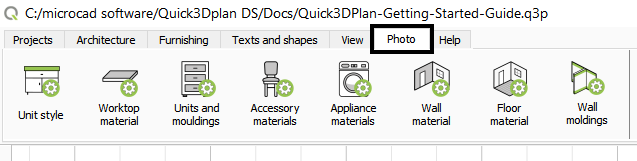
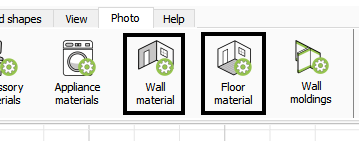
All the tools to change the materials of the design elements are located in the “Photo” tab:

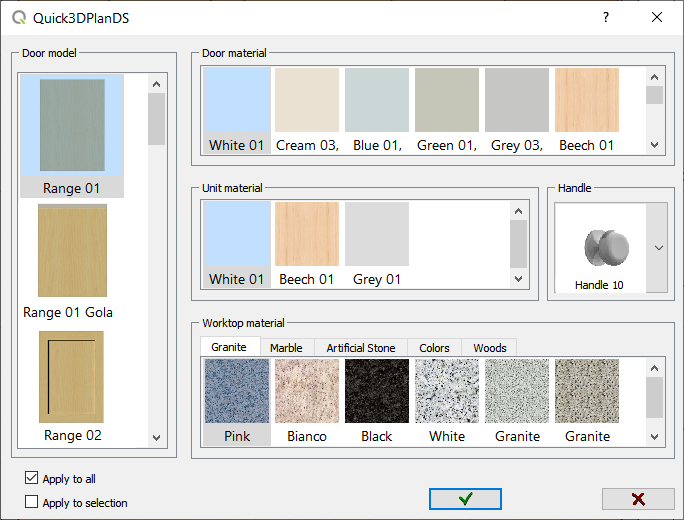

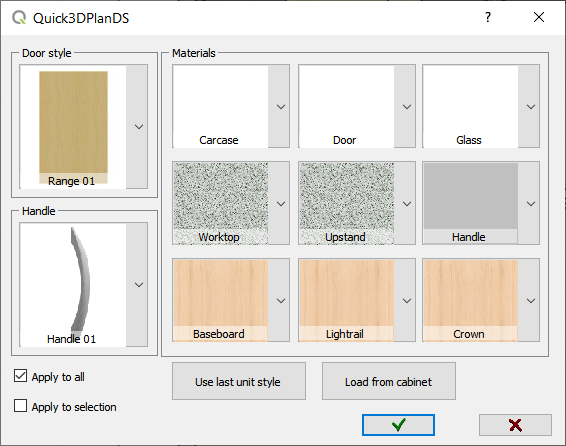
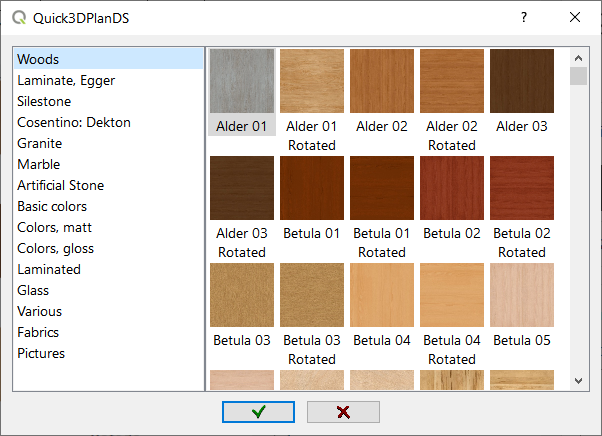
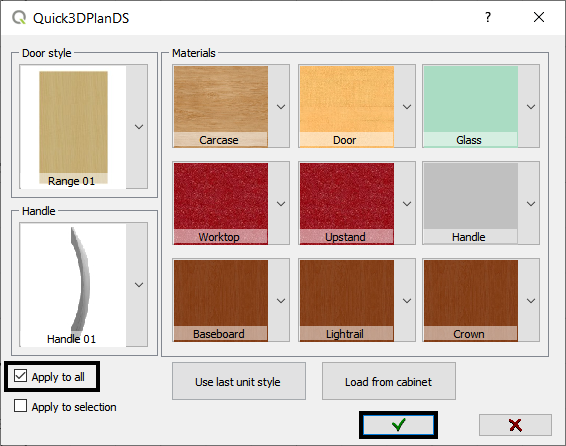
To select a new material, simply click on the corresponding “box” (carcase, door, glass, worktop, upstand, handle, baseboard, lightrail, or crown), and the following window will appear, where you can choose the new material you want to apply to the selected element:
Go ahead and select materials for each element, and leave the “Apply to all” option enabled so that the changes apply to all furniture in the design (if you deselect this option, you can only change the materials for the selected furniture). In our example, we will change these materials and click OK for the changes to take effect:
Here you can see how the furniture looks after changing the materials:

Advanced options for changing materials in Quick3DPlan
You can watch a more advanced video on how to change materials for different elements in Quick3DPlan here:
Change the wall material
Finally, let’s change the material of the walls and the floor. The process is the same, just select the corresponding option:
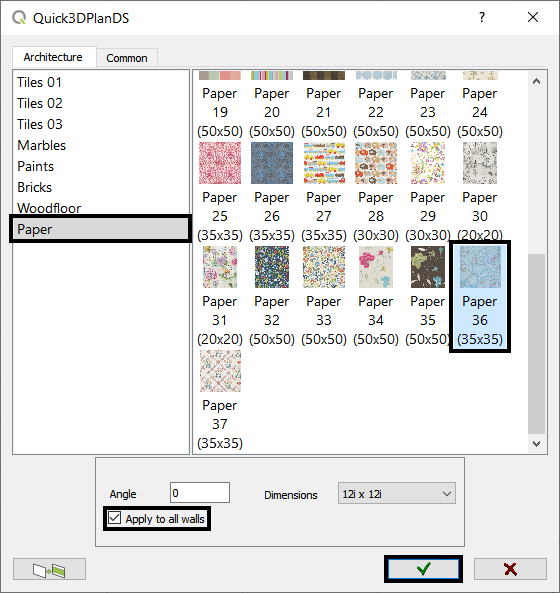
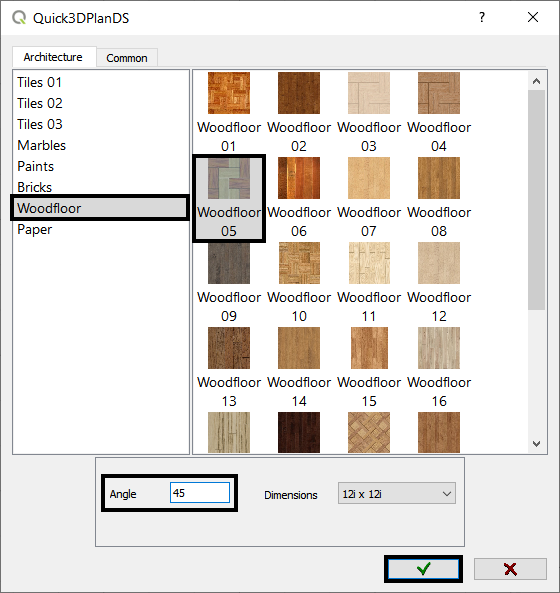
Select the “Wall Material” option, and the following window will appear, where we choose the new material for the walls, as well as the angle and measurements if selecting a “tile” type material. You can also check the “Apply to all walls” option to change all the walls, or uncheck that option to apply the material to a specific wall. In our example, we will apply this material to all walls:
How to create a wall design with 2 materials in Quick3DPlan
You can watch a more advanced video on how to create a wall with 2 materials in Quick3DPlan here:
*Vídeo in Spanish.
Change the floor material
Now, we select “Floor Material“, and repeat the process, selecting this material, applying a 45º angle to make the parquet look nicer:
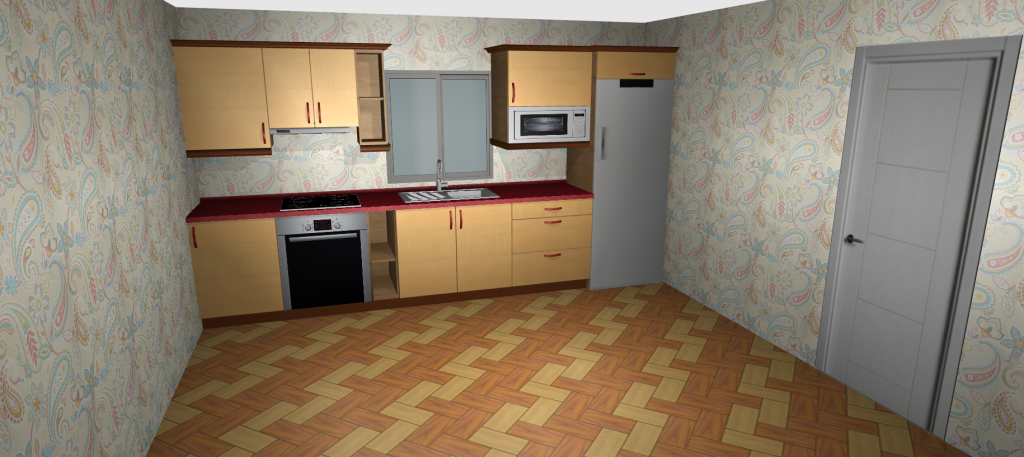
This is how the room should look with the new materials we just applied:
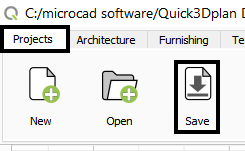
Save project
Now, let’s see how to create views and perspectives of our designs.
Click on the “Next” button to continue with the course.