How to make a peninsula or island in the middle of the kitchen with a “breakfast bar”

To create peninsulas, when placing the furniture, click on the “Mouldings” button [1], and in the new window that appears, where you select the mouldings the furniture will have, deactivate the “Upstand” option [2], so that when placing this cabinet to simulate a peninsula, it doesn’t include that moulding. Repeat the process with all the cabinets you want to make the peninsula:

To simulate the countertop bar with a leg or “breakfast bar”, we have 2 options:
Option 1
- Go to the “Furnishing -> Add unit” section, and select the “Moulding -> Worktop” option. Next, click on the “measurements” button to modify the dimensions, and adapt the countertop to your needs. One modified, place it in the design and use the tools to move and rotate it where you want:

- Now let’s place the leg. To do this, click on “Furnishing -> Add accessory”, select the option “Legs, shelves, panels -> Cabinet legs -> Leg 04” (or the one you need for your design; remember this is just an example), and click on the “measurements” button to modify the leg’s dimensions. You need to modify the “Height” value of the leg so that it reaches from the floor to the bottom of the countertop. In this example, we have changed the value to 55cm (based on the previously inserted countertop: 40cm in Height + 15cm Elevation):

- Place the leg in the design, close to the worktop placed before. You will not be able to place the leg under the worktop by using the mouse so you will have to place it by using the “Move” tool, available right next to the “Add accessory” option. Click on this option, select the leg and adjust the position using the arrows:

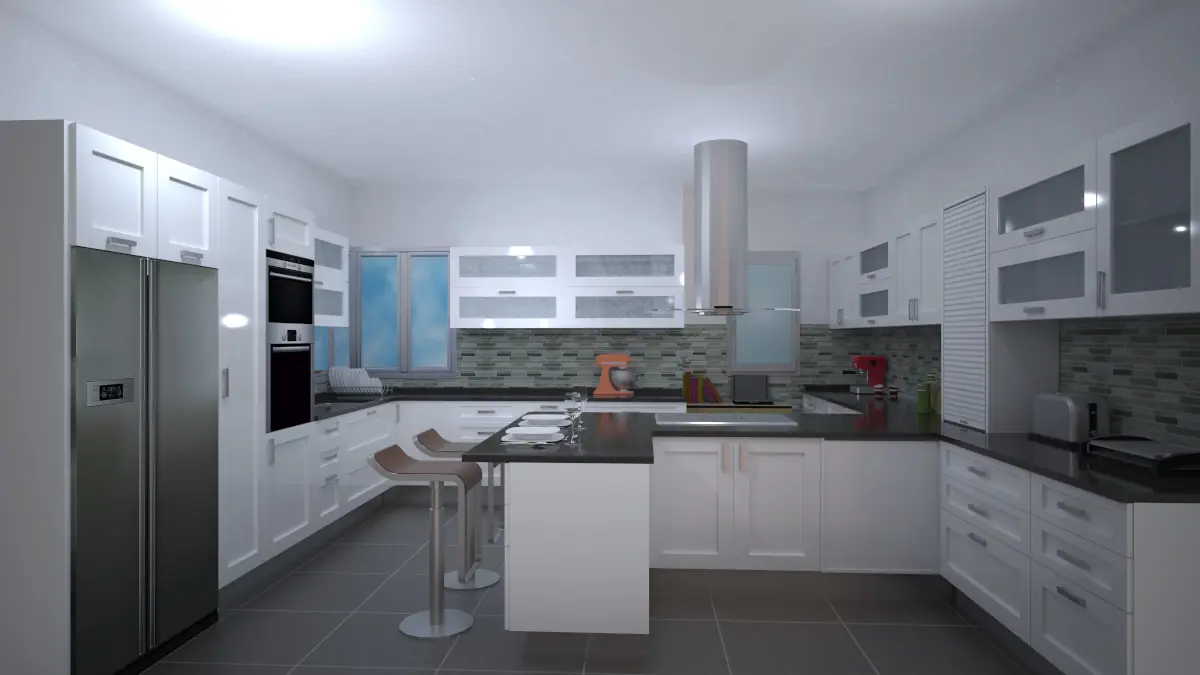
- The final result should look like this:

Option 2
Another option to create the “breakfast bar” would be to create a countertop from a shape. To do this, follow these steps:
- First, draw the shape the breakfast bar will have by using to the “Texts and shapes -> Draw shape” [1] option, adapting the measurements according to your needs [2]:

- Accept the window and place the shape in the design:

- Once the shape is drawn, click on the “Furnishing -> Top from shape” tab [3], select the shape we previously inserted [4], and configure the measurements shown in the following screenshot [5]:

- Once the countertop is created, click on the “Furnishing -> Add accessory” tab [6], select the “Legs” option [7], and click on this button to modify its measurements [8]. Accept these windows and insert the leg into the design:

- If necessary, adjust the position of the leg using the “Move” tool [9]:

- It should look like this: