Video-Tutorial
Add unit
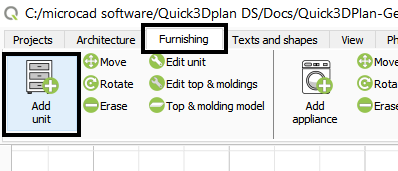
Once the architecture is created, the next step will be to add the furniture. To do this, click on the “Furnishing” tab, and then on “Add unit” :
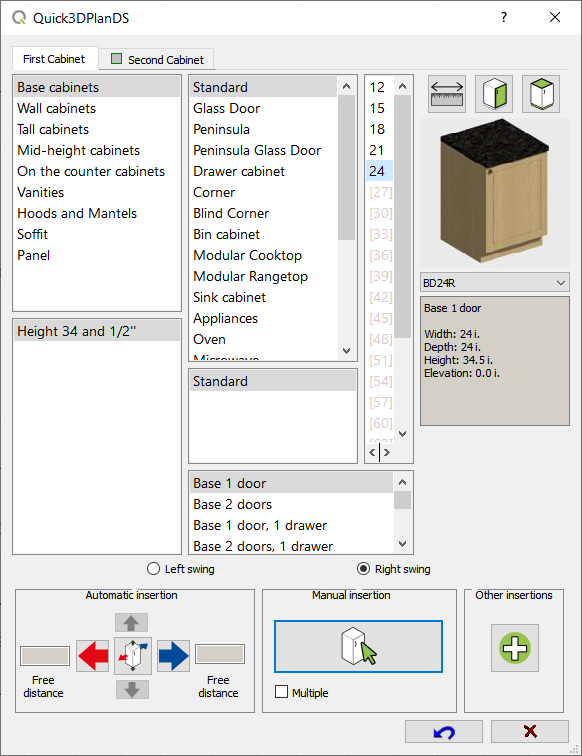
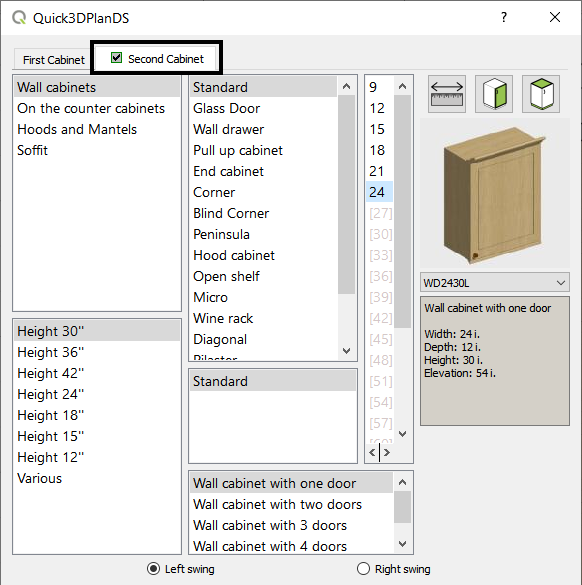
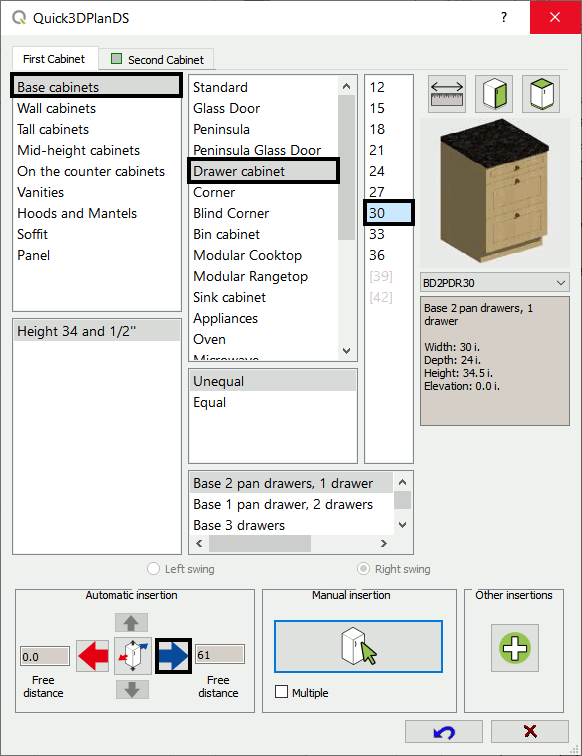
The Quick3DPlan furniture insertion window appears, which is divided into different categories to classify furniture according to: 1) type of furniture, 2) available heights, 3) models, and 4) sub-models, 5) combination of doors, and 6) widths.
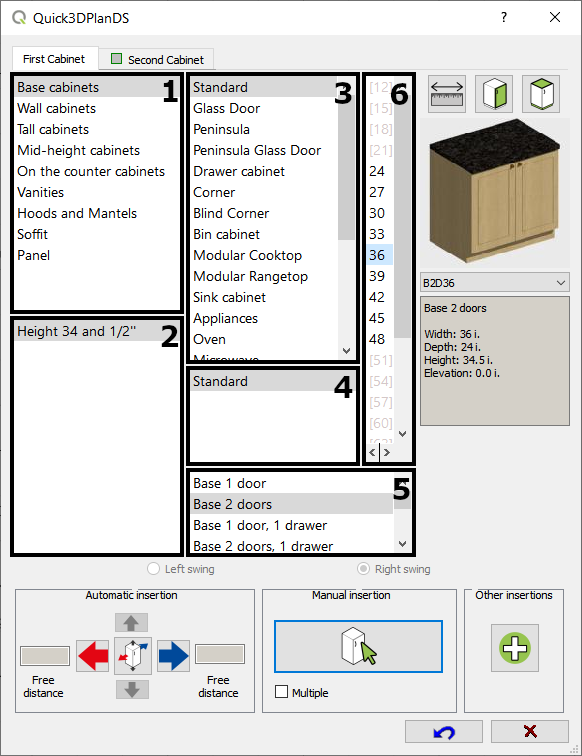
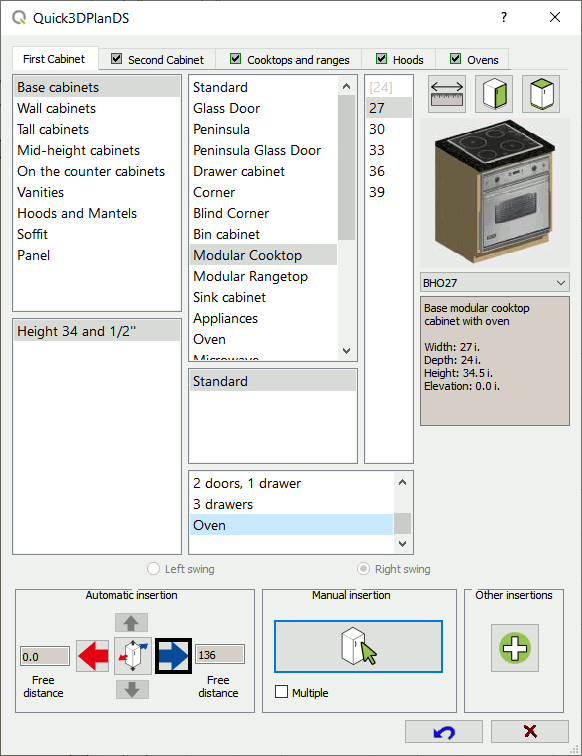
In this example, we will start by selecting a “Base cabinets -> Standard -> Height 34 and 1/2″ -> 24″ wide” furniture.
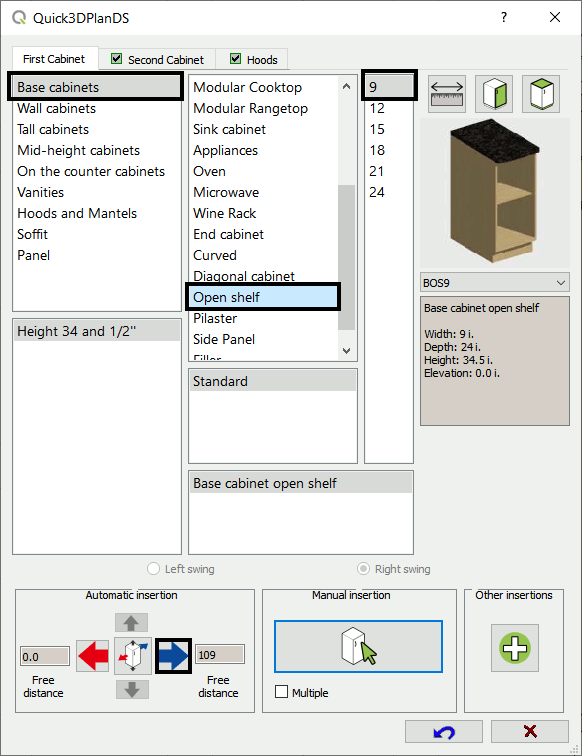
Now we check the “Second Cabinet” option, indicating that we are going to place the base and the wall cabinet simultaneously. Select this “Wall cabinet” :
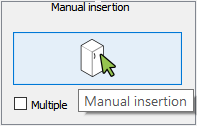
We will indicate the position of the furniture by clicking on a point with the left mouse button. In this example, we place them in the top-left corner.
Automatic insertion
Once the first furniture piece (or pieces) is placed, the rest can be positioned using “automatic insertion“. As you can see in this screenshot, next to the furniture we just inserted, there are two arrows, one blue and one red. These same arrows are also present in the furniture insertion window. By clicking on one of them, the subsequent furniture pieces we insert will be automatically positioned to the right or left of the previously inserted furniture (Quick3DPlan considers them “base furniture“).
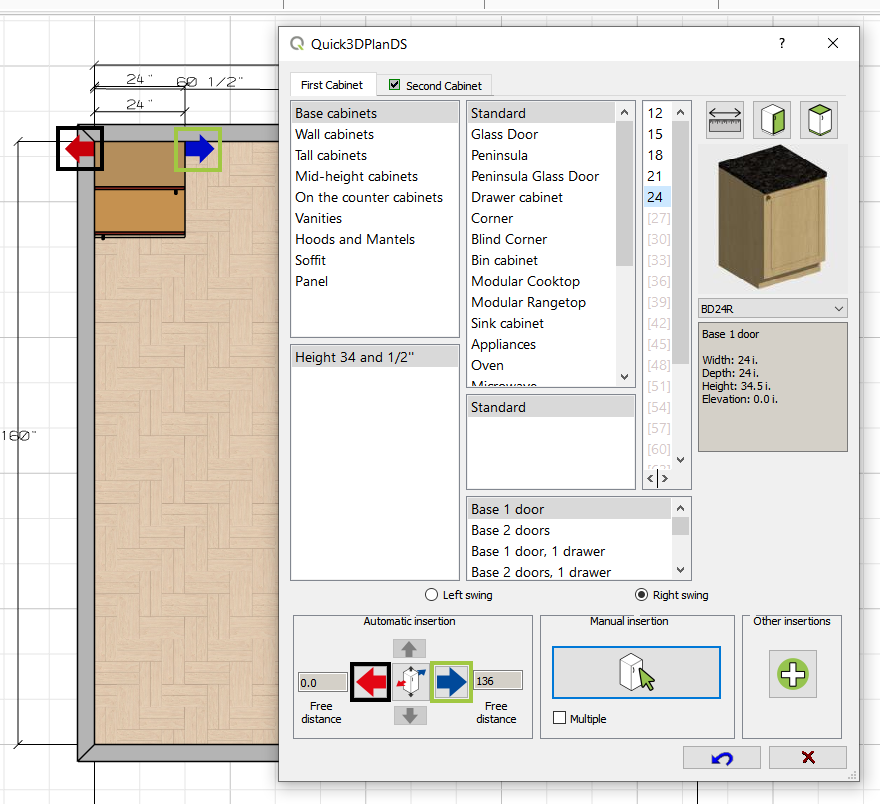
We will place the following furniture pieces by clicking on the blue arrow:
We continue with these other decorative cabinets.
Now we are going to place the sink cabinet under the window, so we don’t need a wall cabinet. Disable the “Second Cabinet” option and select the “Base cabinets -> Sink cabinet -> Standard Sink -> 39″ wide” cabinet:
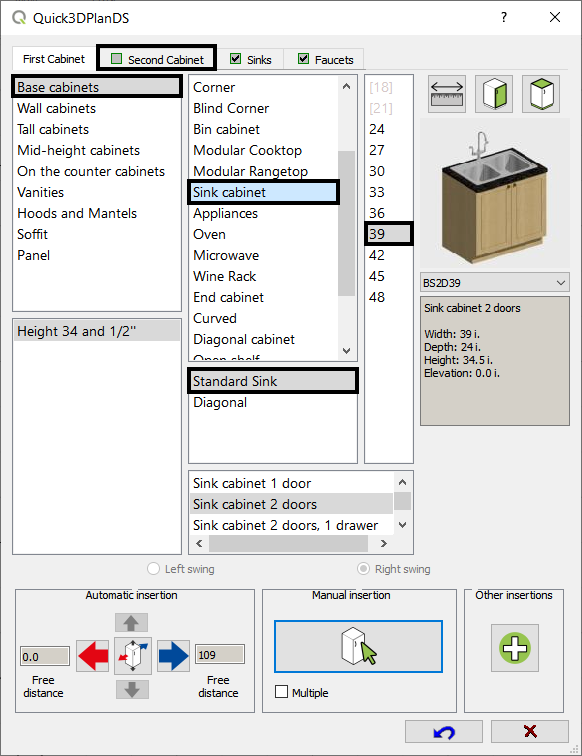

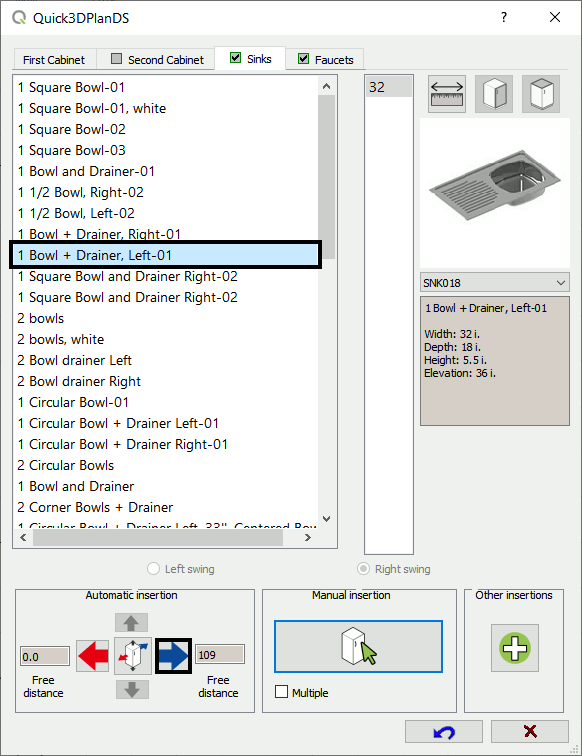
Select this sink and this faucet, and click on the blue arrow.
Next, we place a drawer in the base cabinet and a microwave in the wall cabinet:
Free distance
As you place the different low and tall cabinets, you can see the remaining empty space on the wall in the “Free distance” field:
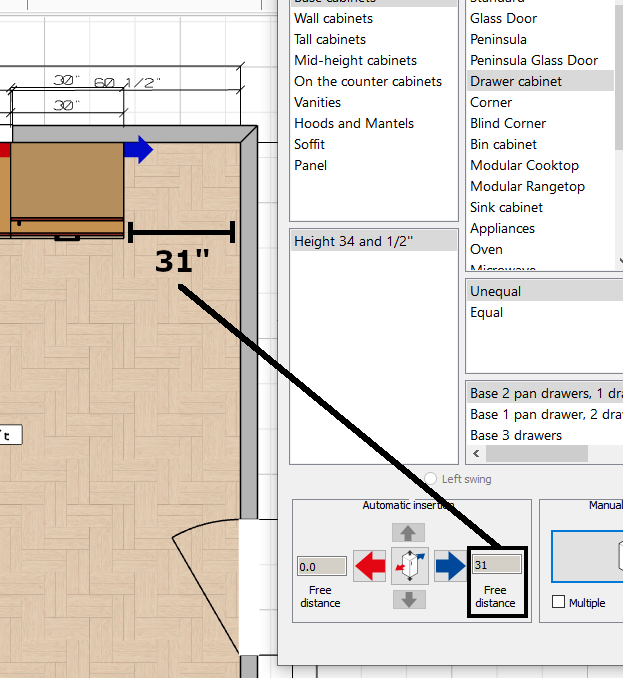
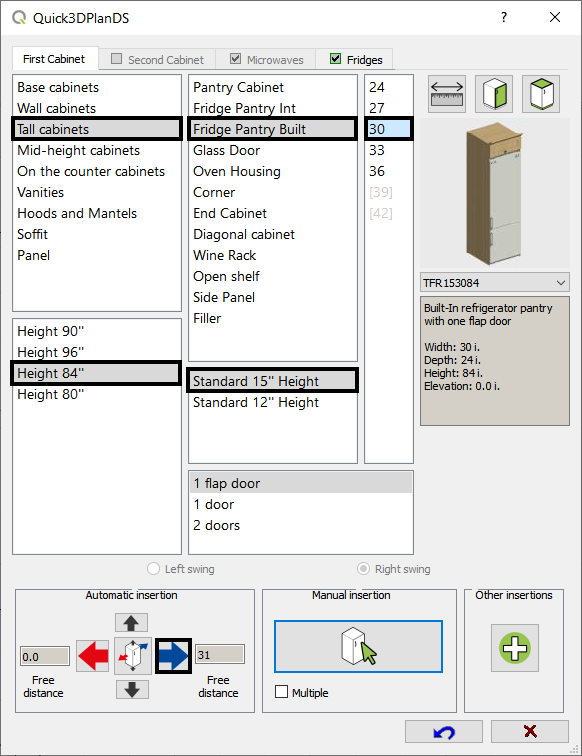
Finally, we will take advantage of the 31″ free space to place a Fridge Pantry Built:
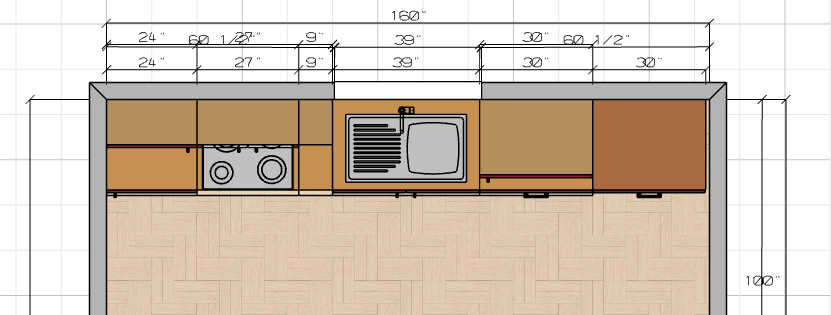
Close the furniture insertion window, and you can see in the design how the kitchen we have created is coming along:
Advanced options for inserting and editing furniture in Quick3DPlan
You can watch a more advanced video on how to insert and edit furniture in Quick3DPlan here:
Save project

Now let’s see how to insert and modify moldings elements.
Click on the “Next” button to continue with the course.