Video-Tutorial
Set Up the lights
The final step in creating a design will be adjusting the room lights and generating a render to obtain a photorealistic image of it.
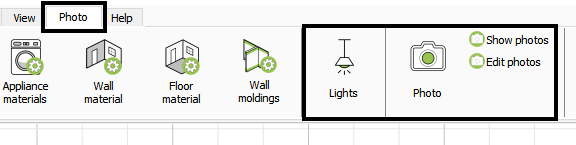
Both tools are located within the “Photo” tab:

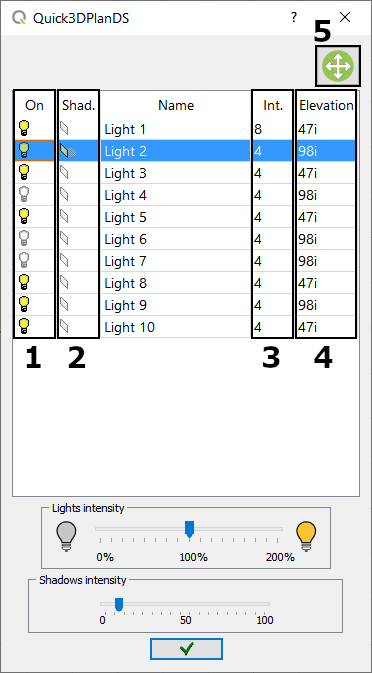
If you select a light in the lights window, you’ll see its location reflected in the floor plan design. It’s crucial that all lights are positioned within the room.
For our example, activate only the lights as shown in the following screenshot (shadow only on “Light 2” ):
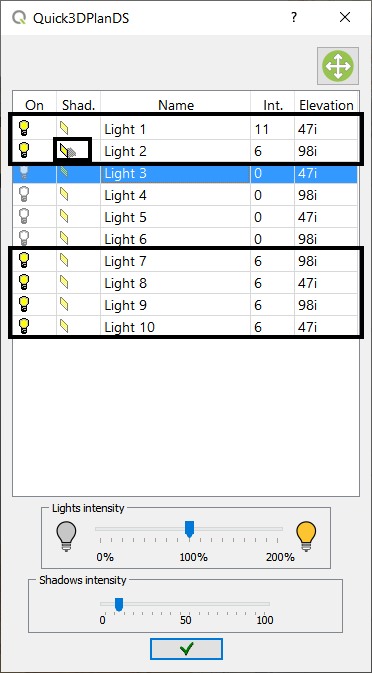
NOTE: It’s essential to consider that each design is different and requires specific placement of lights, their intensities, elevation, etc. You’ll need to experiment with modifying the lights in each project until you achieve the desired result.
Creating a photorealistic image
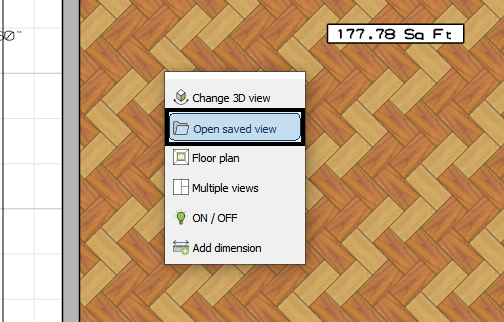
Now we’re going to create the picture of the kitchen. To do this, we’ll retrieve the view we saved in the previous step. You can go to the “View -> Open saved view” tab, or even easier and faster: right-click anywhere on the screen and select “Open saved view” :
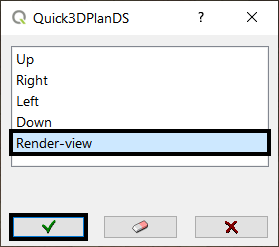
Select the view we had saved, press the OK button, and the perspective we created earlier will be displayed:

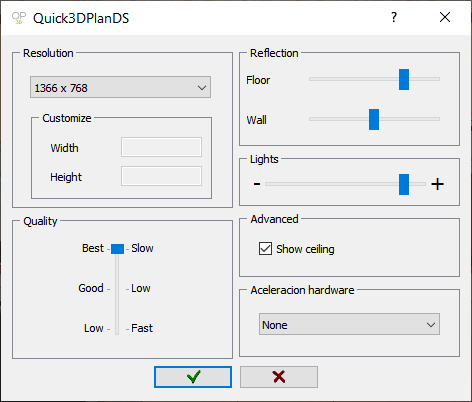
After accepting, this new window will open where the photo of our project will be gradually generated. (NOTE: the time it takes for Quick3DPlan to finish the photo will depend on the selected quality, the resolution/size of the image, the power of the computer, etc.).
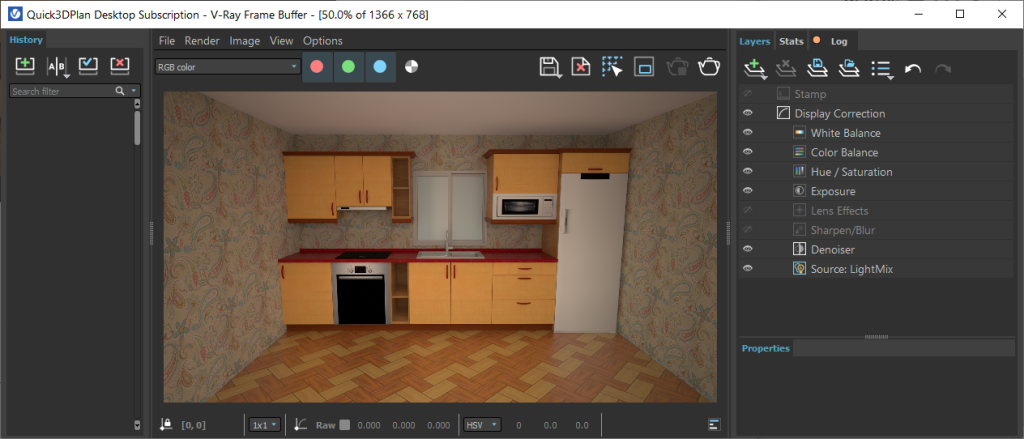
You can minimize the window while the photo is being generated. After a few minutes, you’ll have the photorealistic image of your design in the rendering window:
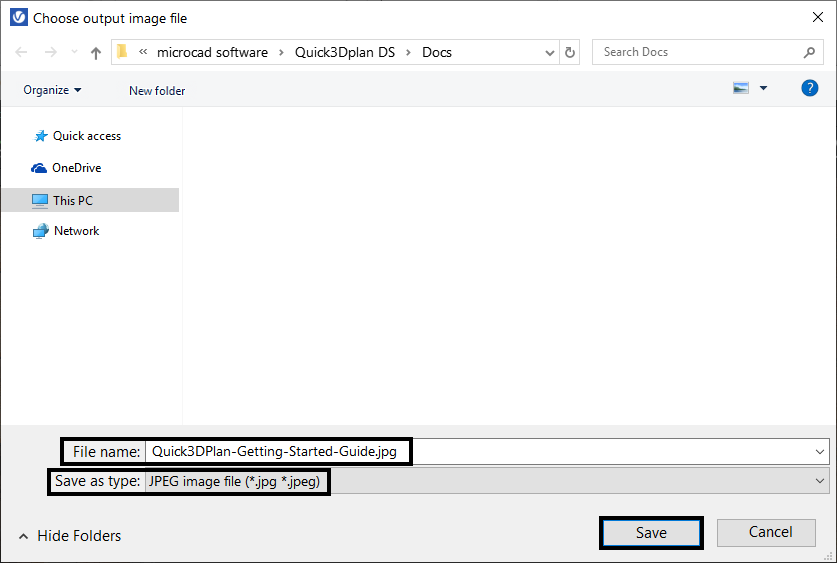
Saving the photorealistic image

And this would be the final result of the project we have created:

How to modify lights and create a render in Quick3DPlan
You can watch a more advanced video on how to modify lights and create a render in Quick3DPlan here:
*Video in Spanish.
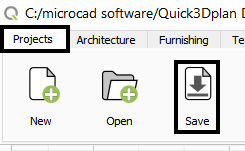
Save project
And that concludes the basic course to learn how to use Quick3DPlan.
Thank you for your attention, and I hope it’s helpful to you.